Get started with Block
Set up Tapper Block step by step: connect an ad account, install the monitoring script, set your detection rules, then switch blocking on.
Lower CPA: stop paying for invalid traffic on your ad platforms. Tapper Block screens every ad click on your website, and once blocking is on it keeps invalid visitors away from your ads. Block is part of the Block, Vantage and Enterprise plans.
Block has its own section in the sidebar: Traffic, Flagged traffic and Refunds. Tapper Block explains what Block does on each platform.
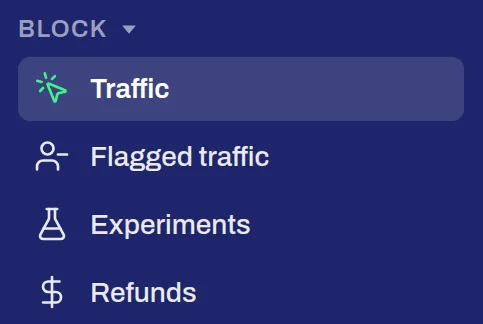
The Block section of the sidebar on a monitor-only workspace
Until an ad account is connected, Traffic reads Connect Google Ads to start protection. Connect each account once and every Tapper product on your workspace uses it; on a workspace with Block, connecting also sets up what Block needs in the account. See Connect your ad accounts.
The monitoring script watches each visit your ads bring to your website. See Install the monitoring script, and add the conversion script to record your conversions against each visit.
Your detection rules decide what counts as invalid traffic. Set them per protected entity in Setup > Rule sets.
A new workspace starts monitor-only: Tapper records invalid traffic and excludes nothing. When the numbers look right to you, turn on blocking in Setup > Rule sets, and Block starts keeping invalid visitors away from your ads. Setup > Ad accounts shows what Block does on each ad account.
Screen, part of Block
Screen labels fake leads in your CRM: it checks each lead from your ad platforms' lead forms for fake emails, fake numbers and junk entries. See Get started with Screen.