

Get started with Vantage
Set up Tapper Vantage step by step: connect a data source with your sales, request a goal, then read Goals and the Dashboard.
Higher ROAS from predicted value. Tapper Vantage predicts what each new customer or lead is worth and sends that value to Google Ads, so bidding follows revenue instead of counting every conversion the same. Vantage is part of the Vantage and Enterprise plans, and Tapper can enable it for a Lift only workspace.
Vantage has its own section in the sidebar, with two pages: Goals and Campaigns. Its results are on the Vantage tab of the Dashboard. Tapper Vantage explains each page.
Vantage sends its values to Google Ads. Connect the account once and every Tapper product on your workspace uses it. See Connect Google Ads.
Vantage learns from your real sales. Until it has a source of them, the Vantage tab of the Dashboard reads Set up Vantage to send each customer's value to your ad platforms and lists the sources it reads: a Shopify store, a Salesforce org, your website tag or a BigQuery dataset. Connect any one. See Install the Tapper Shopify app, Connect Salesforce Sales Cloud or Install the conversion script.
On Goals, select Request goal. While Vantage is off, Turn on Vantage asks what Google should bid for, or lets Tapper suggest. Tapper makes the goal and its conversion action in your Google Ads account, and the goal's status moves from Requested to Preparing your model to Live.
Once the goal is Live, open Campaigns and attach the campaigns that should bid for it.
The Vantage tab of the Dashboard shows how Vantage is doing, and a signal's page on the goal's Signals tab lists the latest sends.
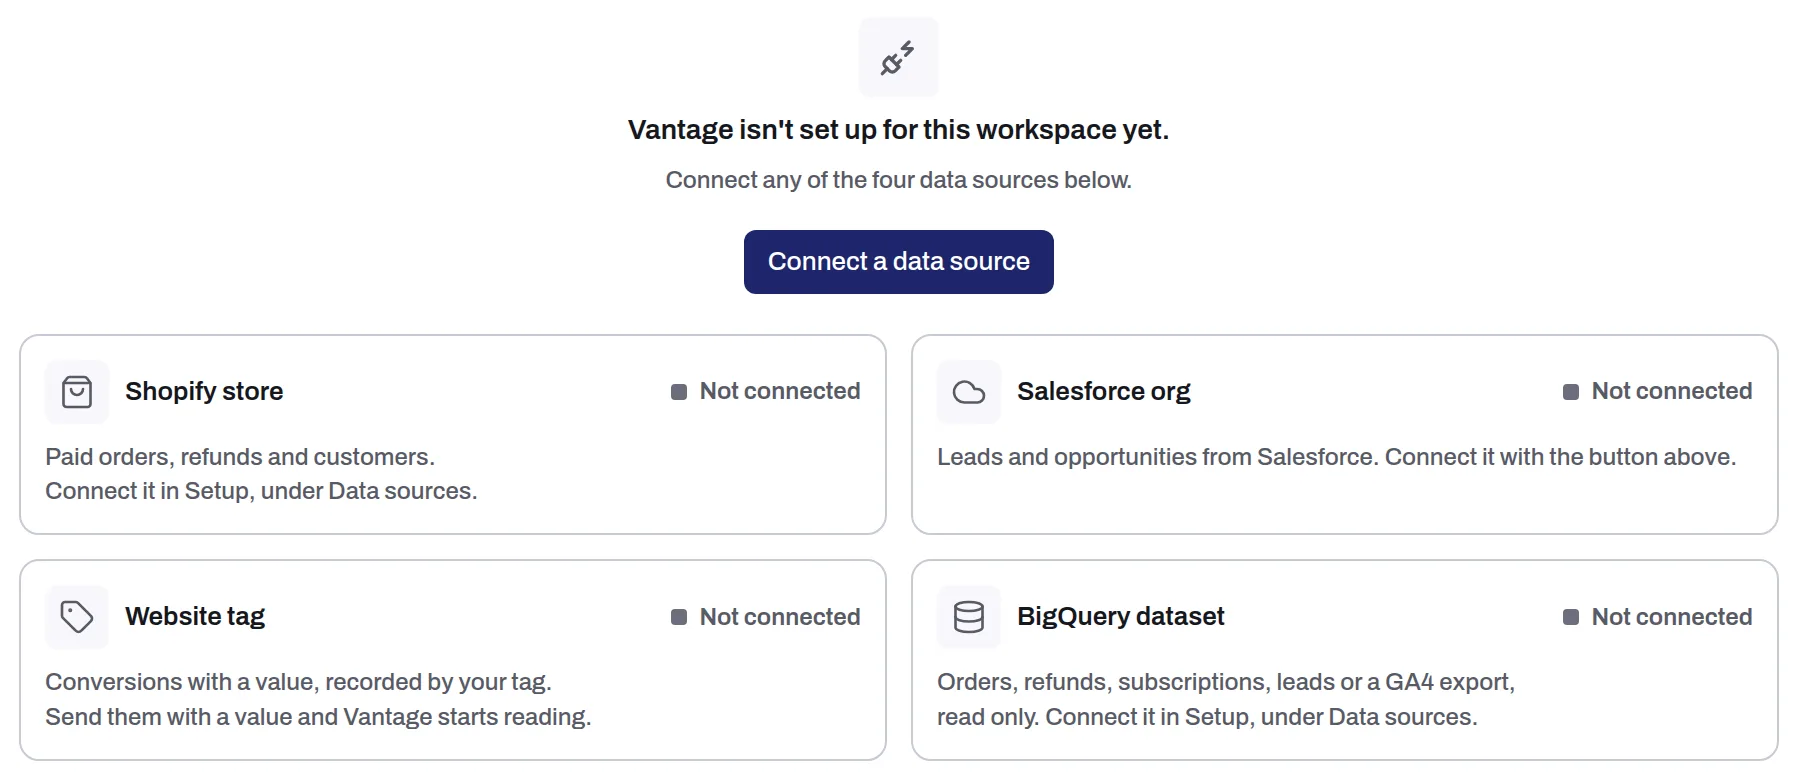
The four data sources Vantage reads
Tapper's team sets the rest up with you, such as mapping your Salesforce lead statuses to outcomes.
Audiences ranked by predicted value
With Vantage on, Reach, part of Tapper Relay, can rank the audiences it builds from your own customers by the value Vantage predicts for each one. See Get started with Reach.